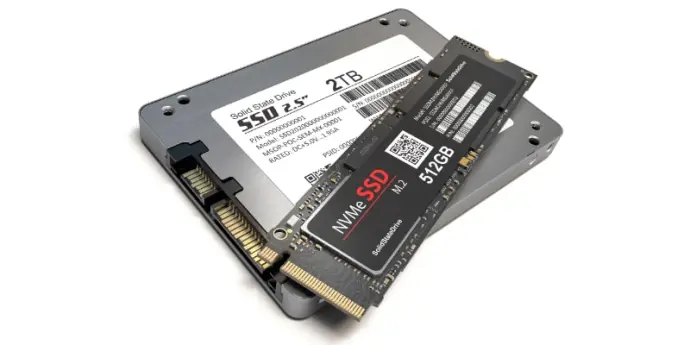
Replacing an SSD or NVMe drive in a laptop is a...

Replacing an SSD or NVMe drive in a laptop is a great way to improve performance, especially in terms of speed and responsiveness. Here’s a guide to help you through the replacement process: Step 1: Identify Compatibility Check the Interface: Most laptops support either SATA-based SSDs or M.2 NVMe drives. Verify which type your laptop uses by consulting the user manual or specifications online. Form Factor: For M.2 drives, confirm the size (e.g., 2242, 2260, 2280). The most common is 2280 (22mm wide, 80mm long). Capacity Support: Some older laptops may have limitations on the maximum storage capacity, so confirm that as well. Step 2: Backup Data Before removing your current drive, back up all important data to an external drive or cloud storage. This ensures no data is lost during the transfer. Step 3: Gather Tools You’ll need a small Phillips-head screwdriver, and possibly a plastic spudger to open your laptop without scratching the casing. Step 4: Replace the Drive Power Off and Unplug: Turn off the laptop completely, unplug it, and remove the battery (if removable). Open the Back Panel: Using the screwdriver, carefully open the back panel. If unsure, consult your laptop’s manual to avoid damaging any components. Locate the Drive: You’ll find the SSD/NVMe slot under a small metal cover or as an open slot. Remove the Old Drive: Unscrew the drive, carefully pull it out, and set it aside. Install the New Drive: Insert the new SSD/NVMe drive at a slight angle into the slot and screw it in securely. Step 5: Close the Laptop and Power On Replace the back cover, screw it in, and turn on your laptop. Step 6: Install Operating System If the new drive is blank, you’ll need to reinstall the operating system. Use a bootable USB drive with your OS (e.g., Windows 10/11 or macOS) and follow the setup instructions. Optional: Clone Your Old Drive If you’d like to keep the existing OS and data, you can clone your old drive onto the new one using software like Macrium Reflect or Clonezilla before switching drives. This step must be completed with an external USB-to-SATA or USB-to-NVMe adapter.
Keywords
Subscribe for latest offers & updates
We hate spam too.

